Hawaiian Garlic Shrimp

Published Sep 30, 2026
This post may contain affiliate links. Please read our disclosure policy.
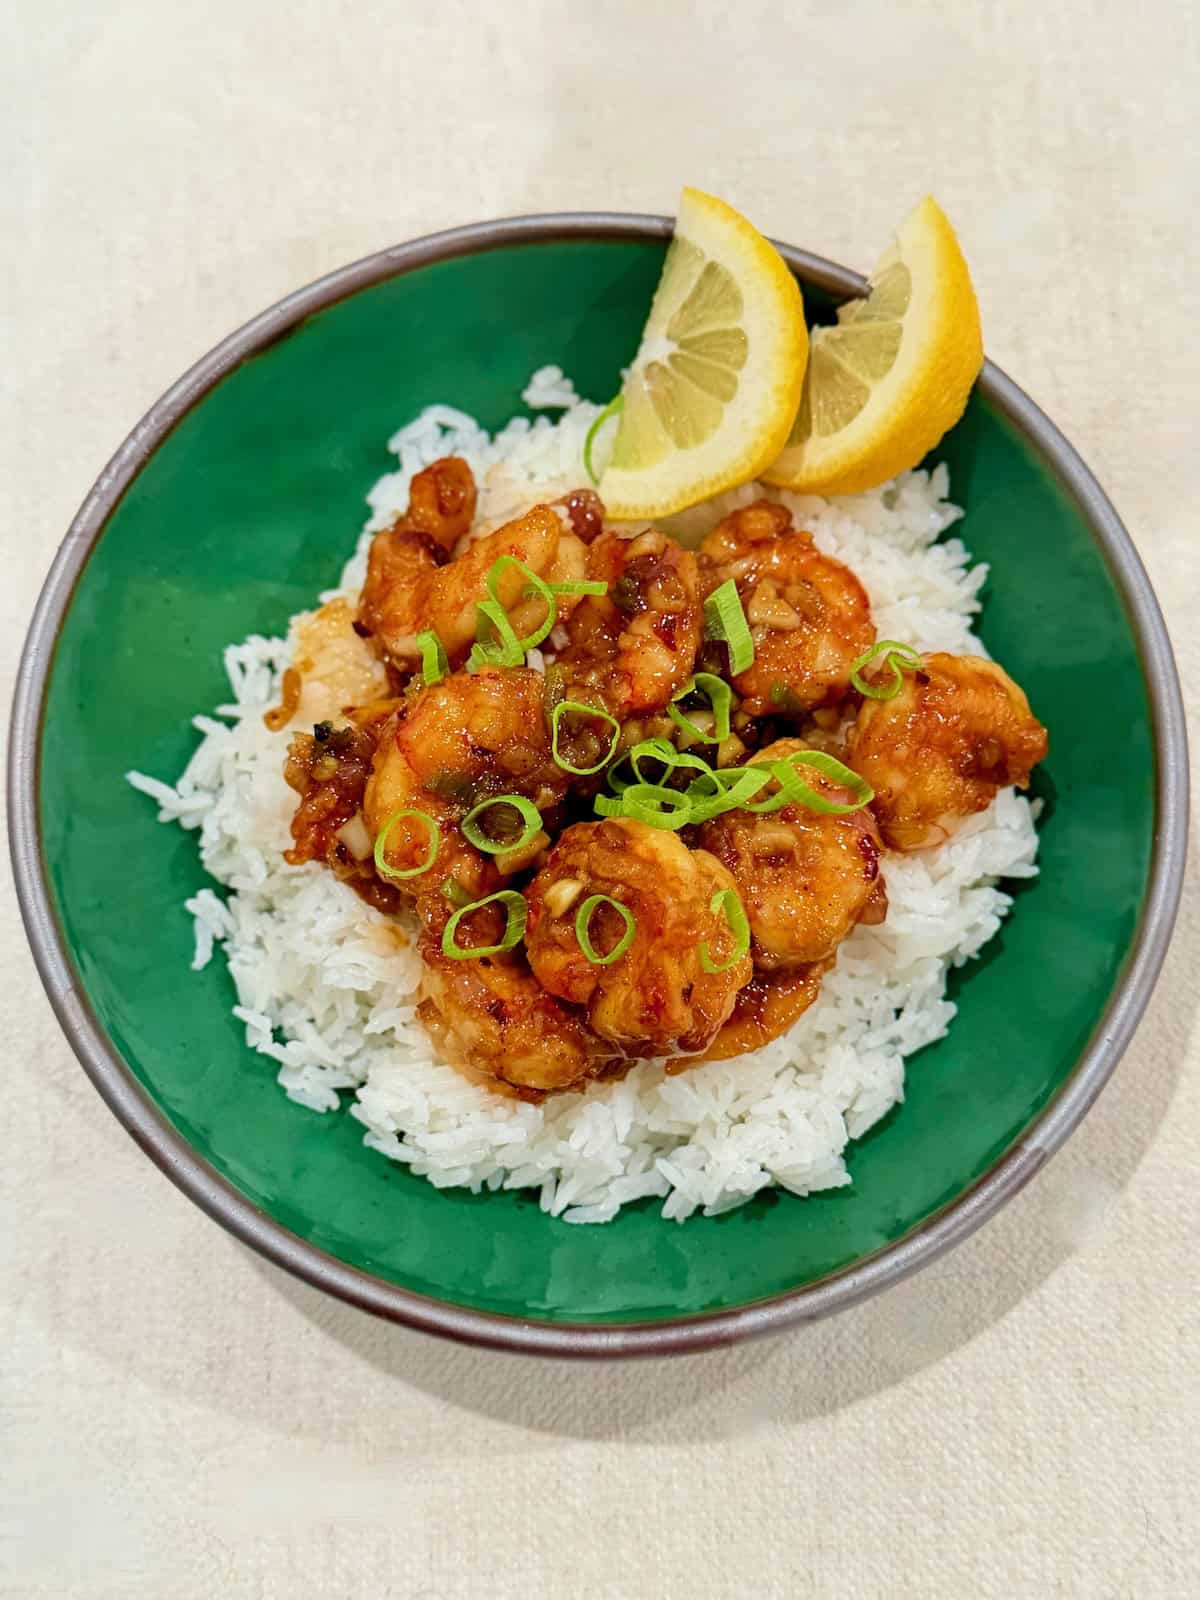
Hawaiian Garlic Shrimp is my twist on the classic, with lightly coated shrimp tossed in a buttery garlic sauce with soy sauce, oyster sauce, fish sauce, and a touch of brown sugar. It’s savory, garlicky, slightly sweet, and ready in just 20 minutes.
If you love easy shrimp dinners, try my Butter Poached Shrimp Rolls, Tomato Boursin Shrimp Baked Orzo, or Tomato Basil Shrimp Pasta next.
🐝 Quick Look: Hawaiian Garlic Shrimp
- What it is: Pan-seared shrimp tossed in a buttery garlic sauce with savory Asian-inspired flavors.
- Why you’ll love it: It’s garlicky, savory, slightly sweet, and comes together incredibly fast.
- Time: 10 minutes prep, 10 minutes cook time, 20 minutes total.
- Main ingredients: Shrimp, garlic, butter, soy sauce, oyster sauce, and fish sauce.
- Best for: A quick weeknight dinner.
Why You’ll Love This Recipe
- A twist on Hawaiian garlic shrimp: My version adds soy sauce, oyster sauce, fish sauce, and brown sugar to the buttery garlic sauce for a huge boost of umami. I use similar flavors in my Garlic Butter Noodles with Caramelized Shallots.
- Ready in 20 minutes: This is one of those dinners that tastes like you did way more work than you actually did. My Calabrian Chili Spinach Pasta and Blackened Salmon are also flavorful 20 minute dinners!
- Perfect over rice: The shrimp are ready in about the same amount of time it takes to cook a pot of rice. Spoon all of that extra garlic sauce over the rice and add my Air Fryer Baby Broccoli on the side.
Table of Contents
Key Ingredients
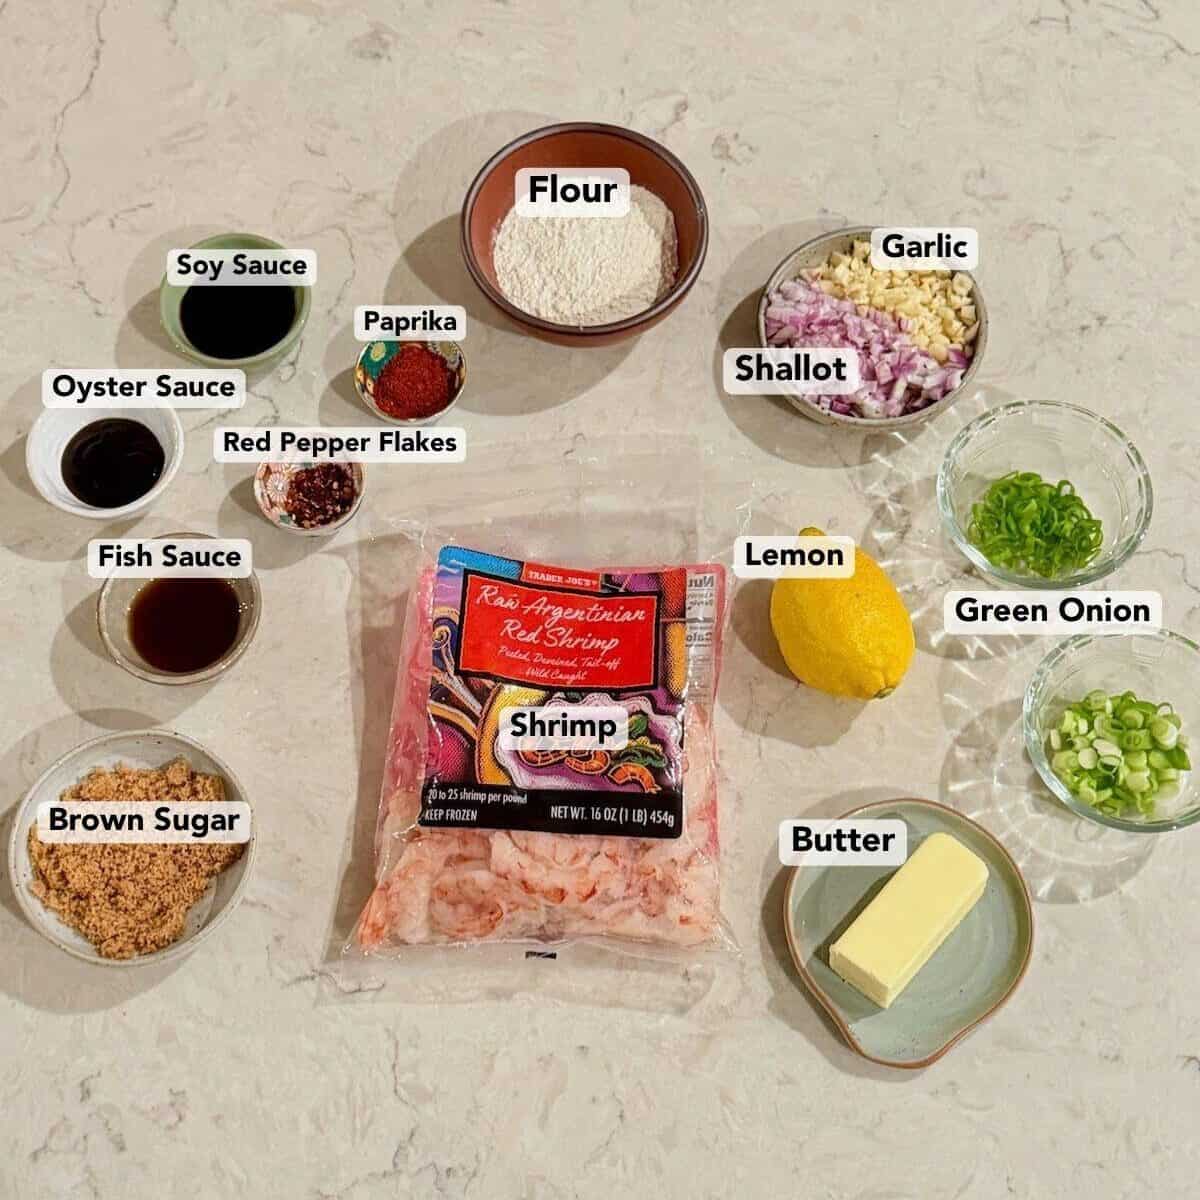
See the recipe card below for the complete list of ingredients with exact quantities.
- Shrimp: Large shrimp work best here because they stay juicy and brown nicely in the pan. I used Trader Joe’s Red Argentinian Shrimp when testing this recipe.
- Soy Sauce: Adds salty, savory flavor to the sauce. I used reduced-sodium soy sauce so the other flavors can still come through.
- Fish Sauce: This adds a salty, savory depth to the garlic butter sauce. A little goes a long way, but it makes a big difference in the overall flavor.
- Oyster Sauce: Adds richness, umami, and a subtle sweetness to the sauce. It also helps give the finished sauce that glossy consistency.
Tips and Substitutions
- Pat the shrimp very dry: This helps the flour coating stick and helps the shrimp brown instead of steaming in the pan.
- Don’t overcrowd the pan: Keep the shrimp in a single layer and cook in batches if needed. This will help them brown more evenly.
- Use reduced-sodium soy sauce: Oyster sauce and fish sauce are already salty, so reduced-sodium soy sauce gives you more control over the final seasoning. If using regular soy sauce, start with a little less.
- No fish sauce? I suggest using it, but you can leave it out if needed. It adds extra savory depth to the sauce, but the oyster sauce and soy sauce still provide plenty of flavor.
- Use unsalted butter: There’s plenty of salt coming from the sauces, so unsalted butter works best here.
- Adjust the heat: Use more or less red pepper flakes depending on how spicy you want the shrimp. If the finished sauce tastes too spicy, stir in a little extra brown sugar to help balance the heat.
- Make it work with what you have: I’ve made this without the shallot or green onion, so feel free to leave either out if needed. I’ve also served with lime instead of lemon in a pinch.
How to Make Hawaiian Garlic Shrimp
See the recipe card below for full instructions and exact amounts.
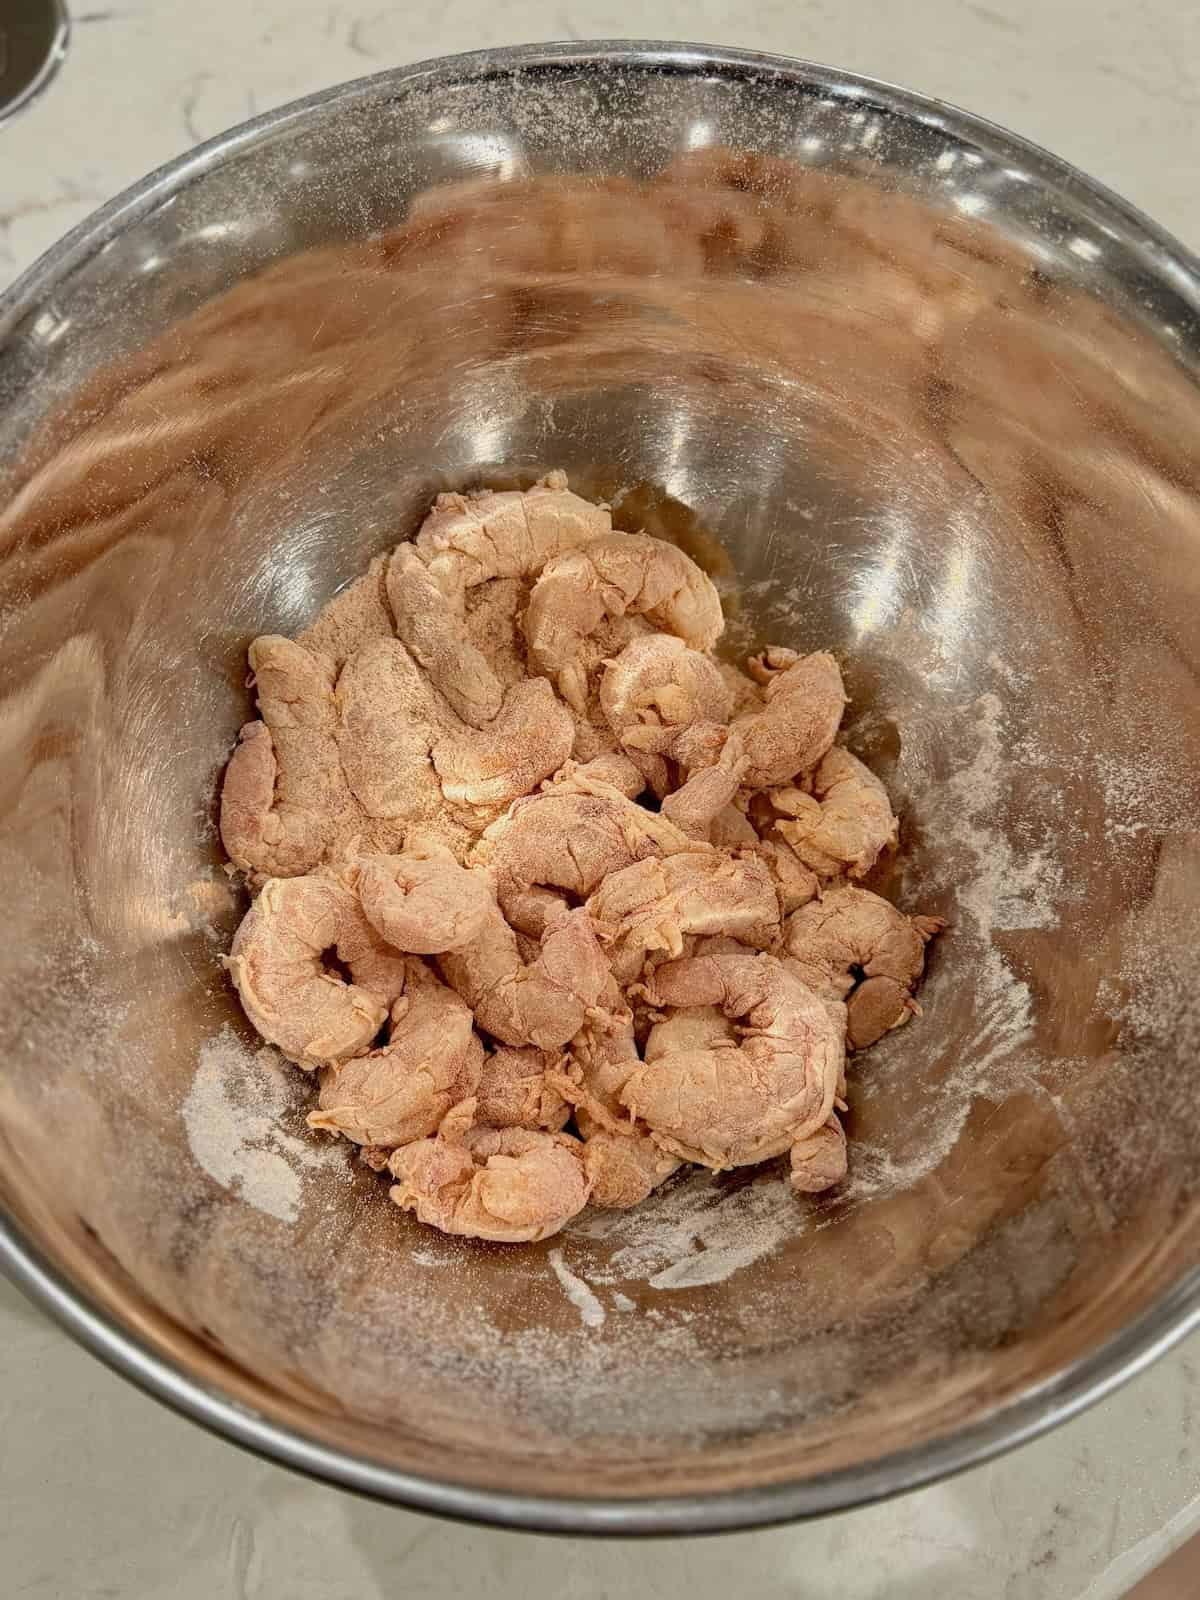
- Toss the shrimp with the flour and paprika until evenly coated.
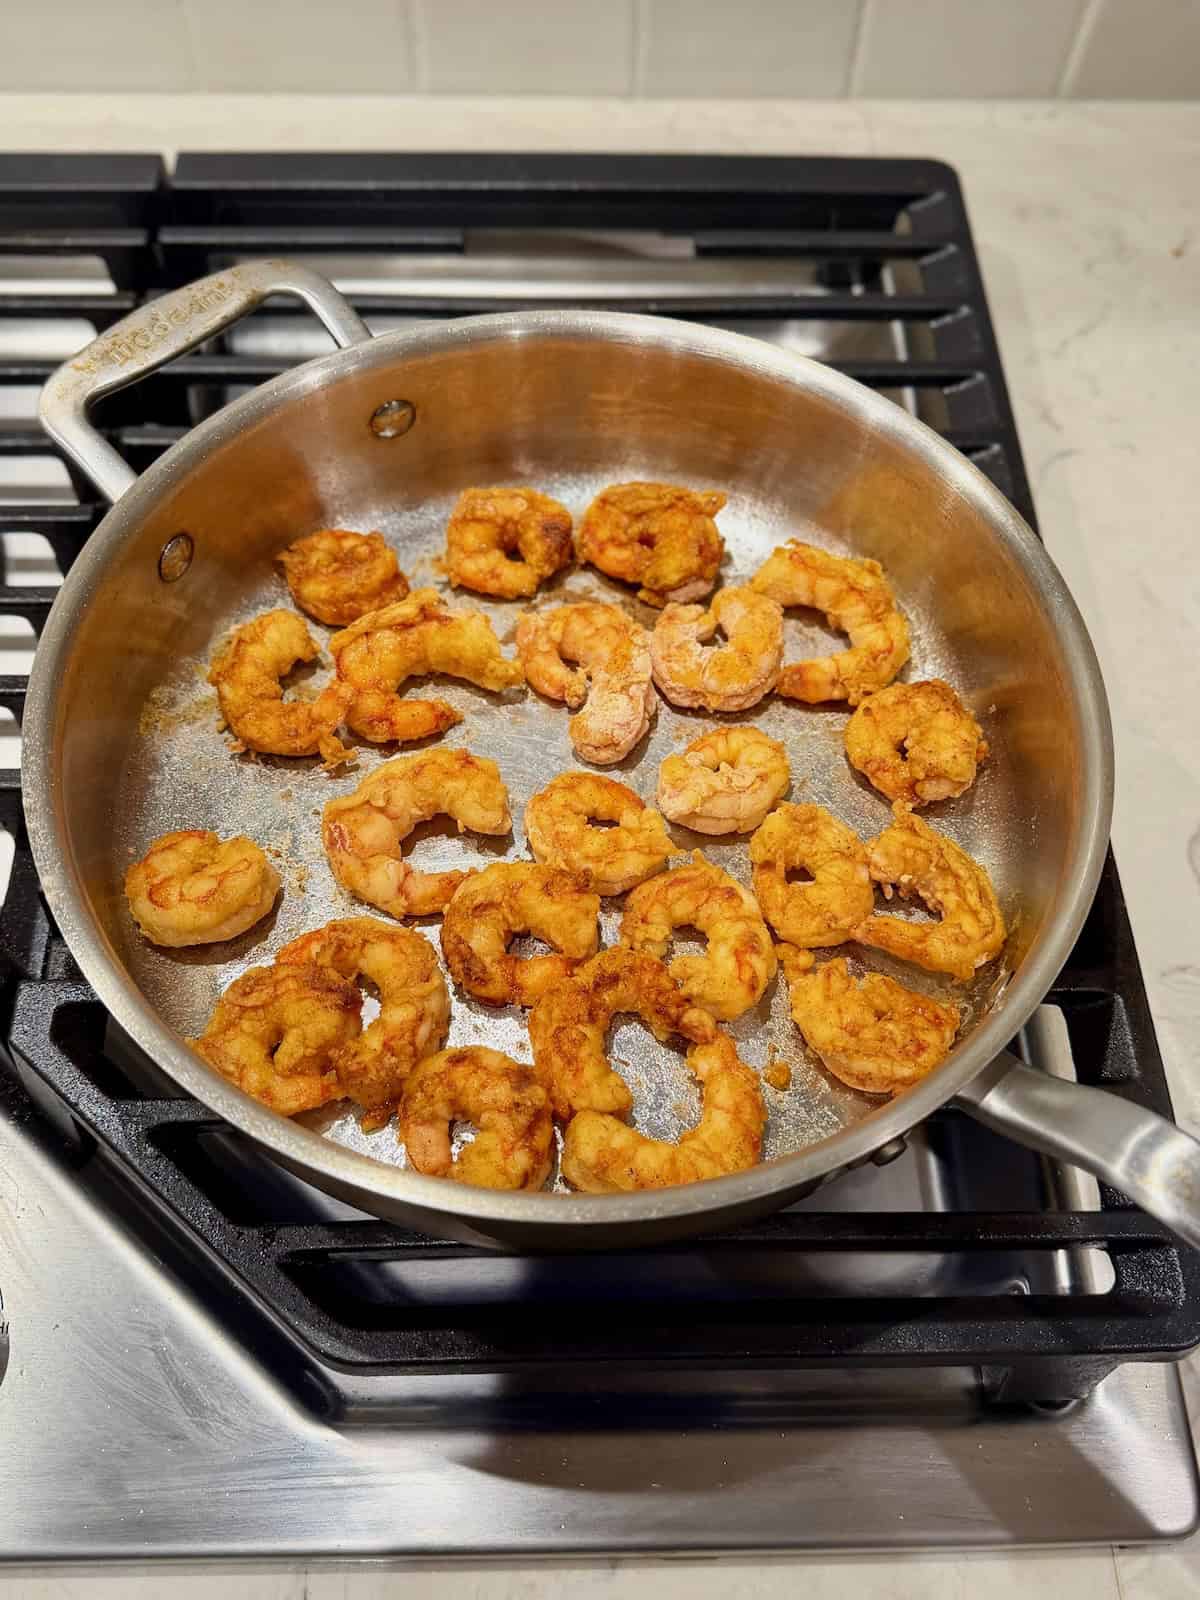
- Cook the shrimp in a single layer until lightly golden, then transfer to a plate.
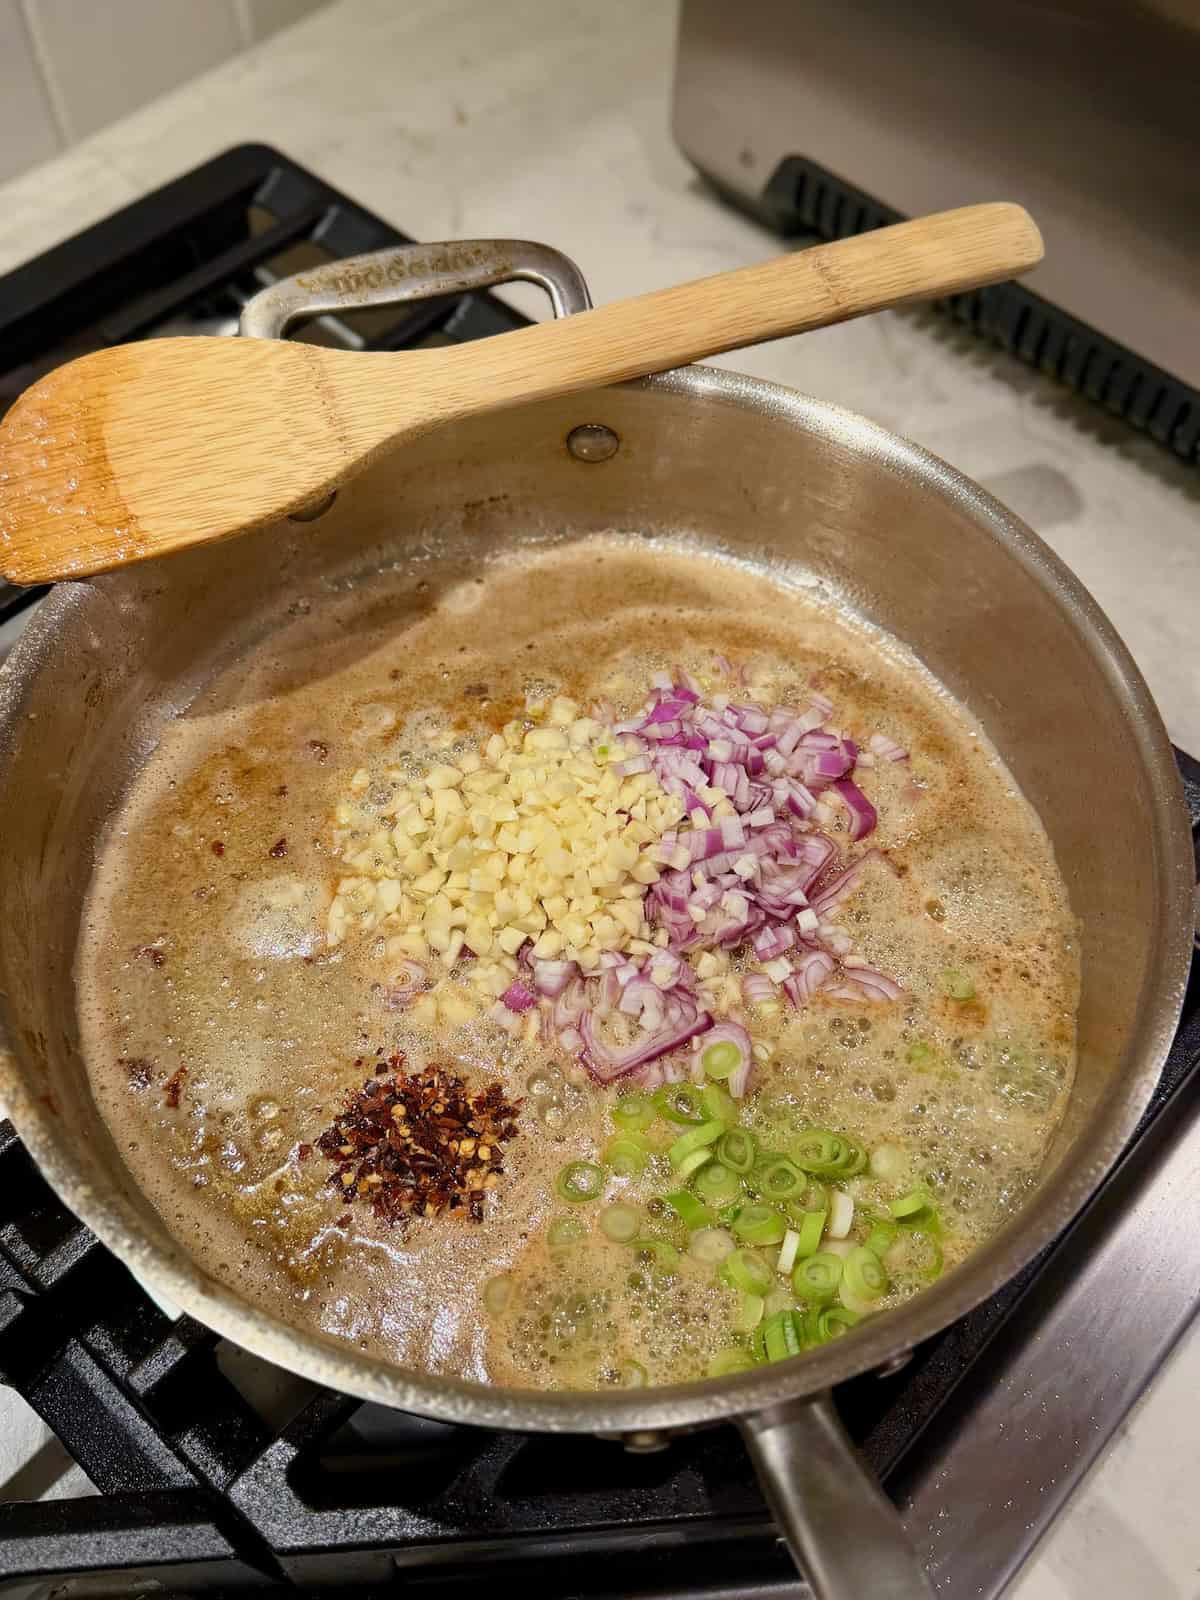
- Melt the butter, then add the shallot, garlic, light green onion, and red pepper flakes.
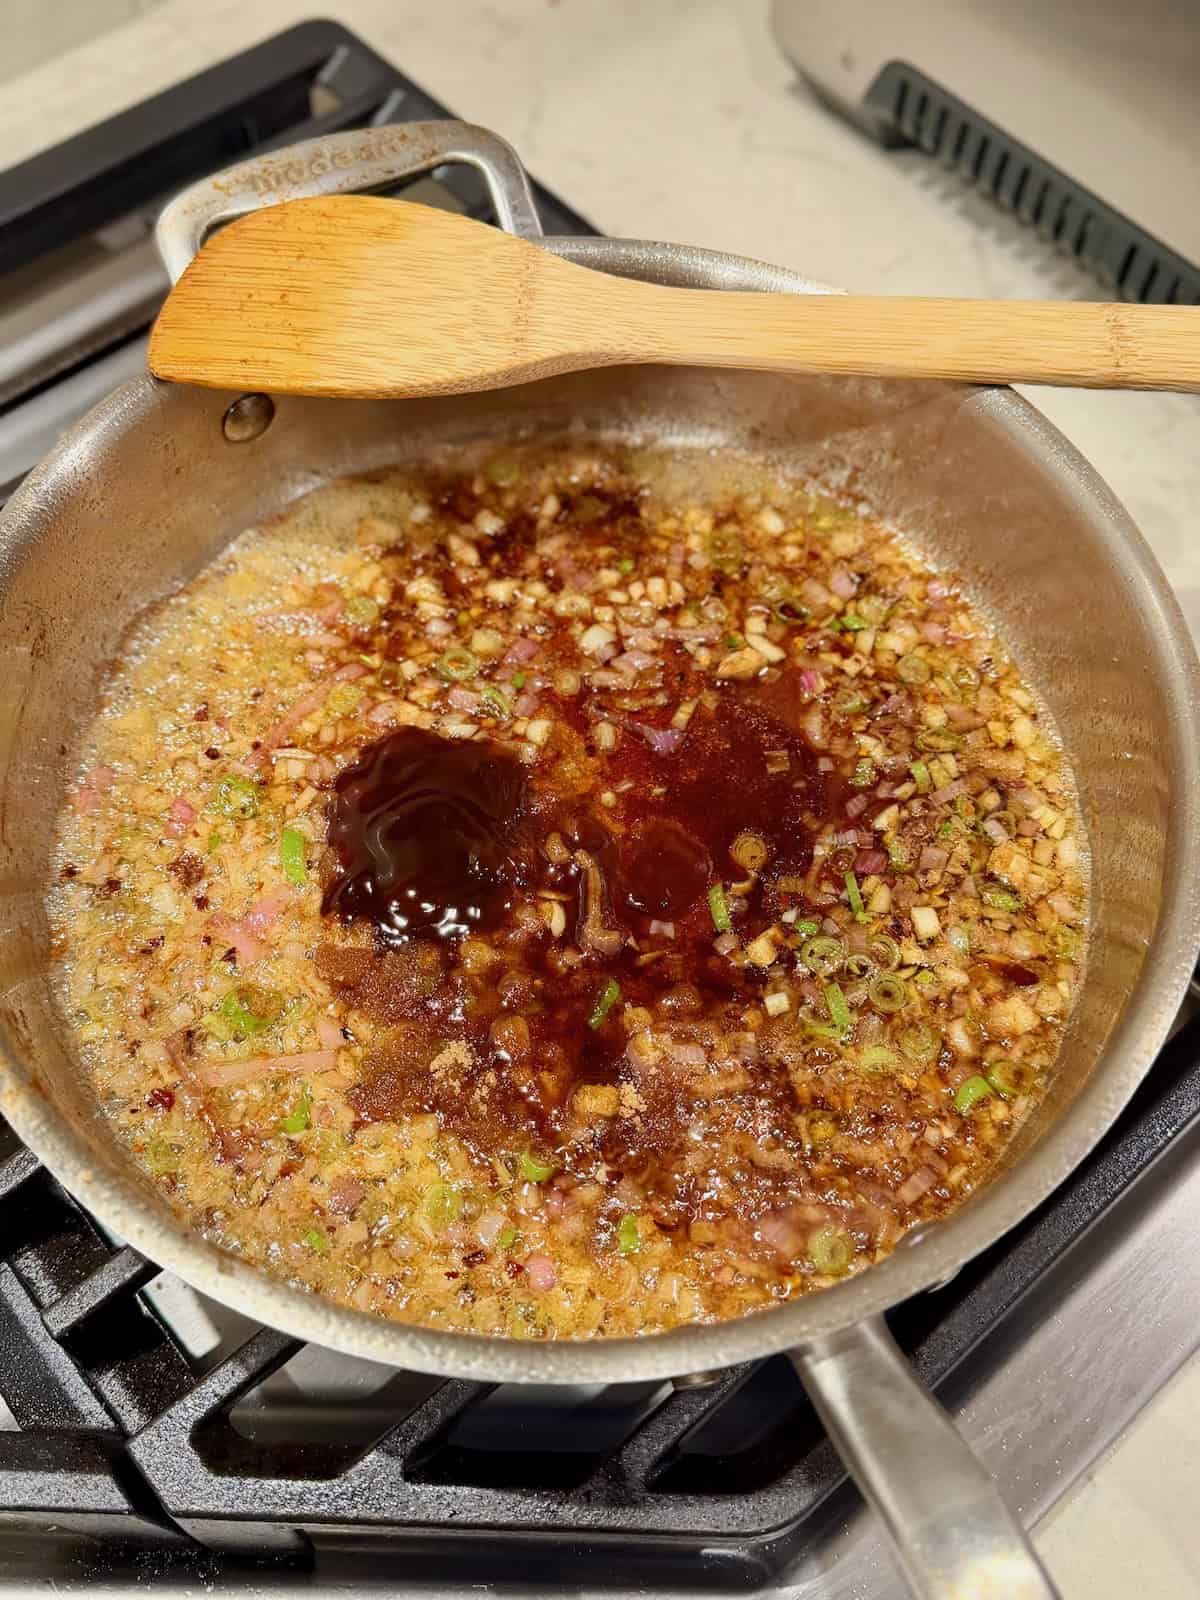
- Stir in the brown sugar, soy sauce, oyster sauce, and fish sauce and let the sauce thicken slightly.
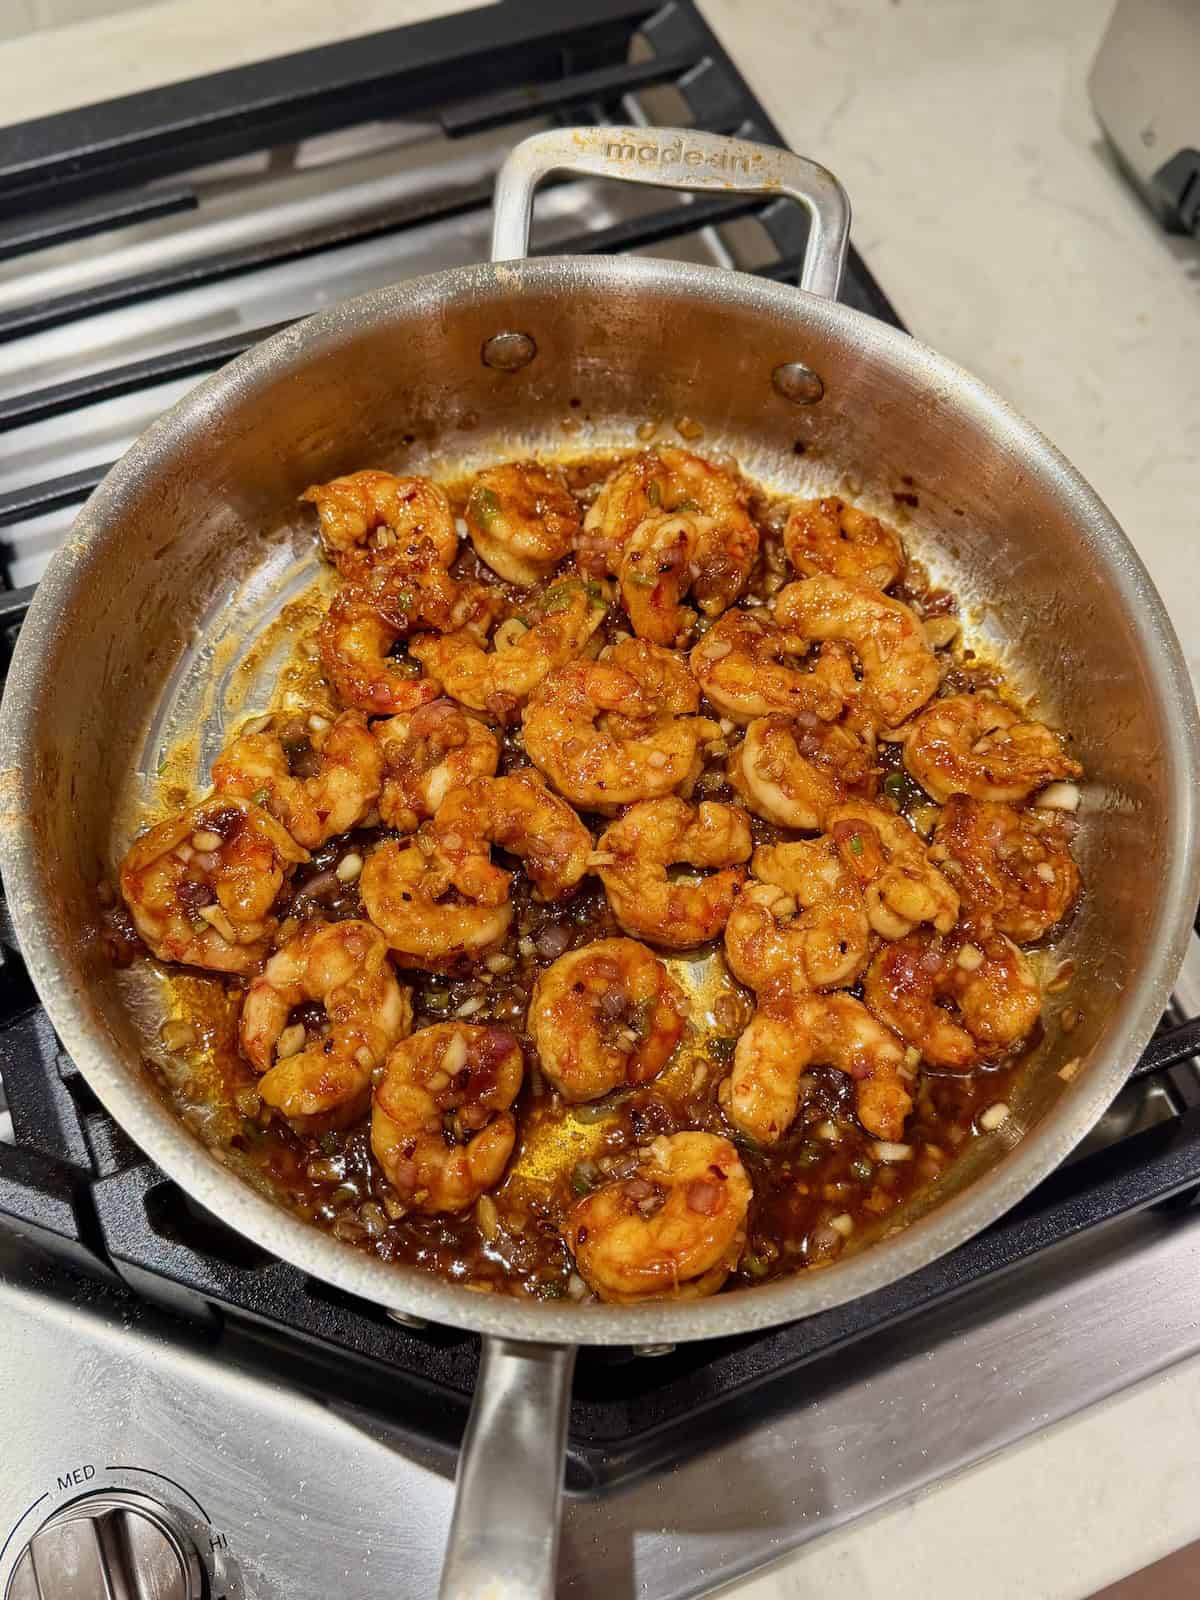
- Return the shrimp to the pan and toss until evenly coated in the garlic sauce.
- Serve over rice with sliced green onion and fresh lemon wedges.
Recipe FAQs
This recipe is best served right after cooking since shrimp can become tough when reheated. You can prep the shallot, garlic, and green onions and mix the sauce ingredients ahead of time so everything comes together quickly when you’re ready to cook.
Yes. You can skip the flour, but the sauce may be a little thinner. Cook the shrimp as directed and continue with the recipe.
Yes, but definitely cook the shrimp in batches so they have enough room to brown. You may also want to use a larger pan for the sauce so there’s enough room to toss everything together at the end.
More Recipes Under 30 Minutes


Hawaiian Garlic Shrimp
Ingredients
- 1 pound Raw Shrimp, peeled and deveined, thawed if frozen
- ½ cup All Purpose Flour
- 1 teaspoon Paprika
- 1 tablespoon Extra Virgin Olive Oil
- 4 tablespoons Unsalted Butter
- 1 Shallot, finely chopped
- 6 cloves Garlic, minced
- 1 Green Onion, thinly sliced, light and dark green parts divided
- ½ teaspoon Red Pepper Flakes
- 1 tablespoon Light Brown Sugar
- 2 tablespoons Light Soy Sauce
- 1 tablespoon Oyster Sauce
- 1 tablespoon Fish Sauce
- 1 Lemon, wedges for serving
Instructions
- Coat the shrimp: Pat the shrimp dry with paper towels. Add the flour and paprika to a bowl and stir to combine. Add the shrimp and toss until evenly coated.
- Cook the shrimp: Heat the olive oil in a large pan over medium-high heat. Add the coated shrimp in a single layer. Cook for about 2 minutes, or until they release easily from the pan. Flip and cook for another 1–2 minutes. Transfer the shrimp to a plate and set aside.
- Sauté the aromatics: Lower the heat to medium. Add the butter to the same pan and let it melt and become foamy. Add the shallot, garlic, light green parts of the green onion, and red pepper flakes. Cook for about 2 minutes, stirring occasionally, until fragrant and slightly softened, but not browned.
- Make the sauce: Add the brown sugar, soy sauce, oyster sauce, and fish sauce. Stir to combine and simmer for 2 minutes, until slightly thickened.
- Finish the shrimp: Turn off the heat. Return the shrimp to the pan and toss until evenly coated in the sauce.
- Serve: Top with the dark green parts of the green onion and serve with lemon wedges. Serve over rice, if desired.
Notes
- Shrimp: Use large shrimp that are peeled and deveined. If using frozen shrimp, thaw them completely and pat very dry before coating with the flour mixture. Excess moisture can make it harder for the coating to adhere and brown. Cooking time may vary slightly depending on the size of the shrimp.
- Cook in batches if needed: Arrange the shrimp in a single layer without overcrowding the pan. If they don’t comfortably fit, cook them in batches, adding a little more oil as needed.
- Soy sauce: Reduced-sodium soy sauce is recommended since the oyster sauce and fish sauce also add salt. If using regular soy sauce, consider using a little less.
- Butter: Unsalted butter is recommended because the sauces already contain plenty of salt. If using salted butter, use a little less or reduce the soy sauce slightly.
- Adjust the spice: Increase or decrease the red pepper flakes based on your spice preference. Reduce or omit them for a milder version.
- Serving suggestions: Serve over white rice to soak up the sauce or pair with crusty bread. Broccoli, broccolini, green beans, or asparagus are also great on the side.
Nutrition
Nutrition information is automatically calculated, so should only be used as an approximation.








This is one of my FAVORITE recipes! And it literally comes together in the same amount of time it takes to cook rice. Such an easy and tasty dinner!